How to Make Your First Tincture — A Complete Beginner’s Guide
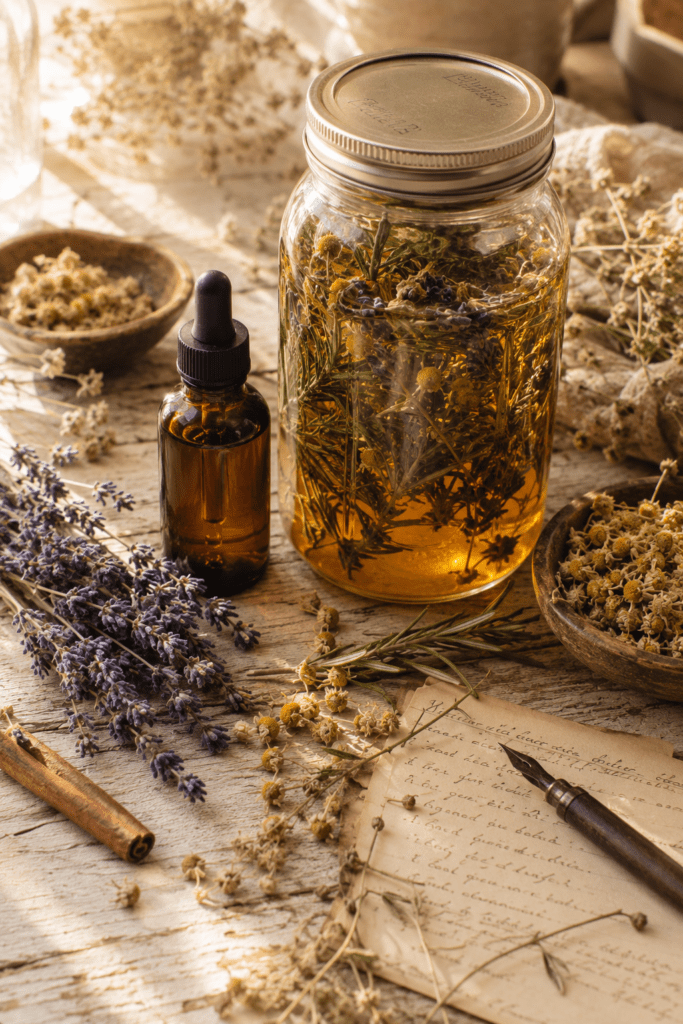
Most people who want to make tinctures at home spend weeks overthinking it before they ever start.
They read conflicting information about ratios. They can’t decide between alcohol, glycerin, or vinegar. They wonder how long to steep, how strong it should be, and how they’ll know when it’s actually ready.
So they wait. And they keep buying expensive herbal supplements at the health food store instead.
Here’s the truth: making a tincture at home is genuinely simple once someone explains it clearly. You don’t need a chemistry background, a fancy setup, or years of herbal experience. You need a jar, your herb of choice, a solvent, and a little patience.
This guide covers everything you need to make your first tincture with confidence.
What Is a Tincture, Exactly?
A tincture is an herbal extract — plant material steeped in a liquid solvent that pulls out the active compounds and concentrates them into a form your body can absorb quickly and easily.
The solvent does the extracting. The herb provides the medicine. Time does the rest.
That’s it. That’s the whole concept.
The reason tinctures are so popular in home herbalism is that they’re more concentrated than teas, have a much longer shelf life than fresh herbs, and absorb faster than capsules or powders. A few drops under the tongue or in a glass of water and you’re done.
Choosing Your Solvent
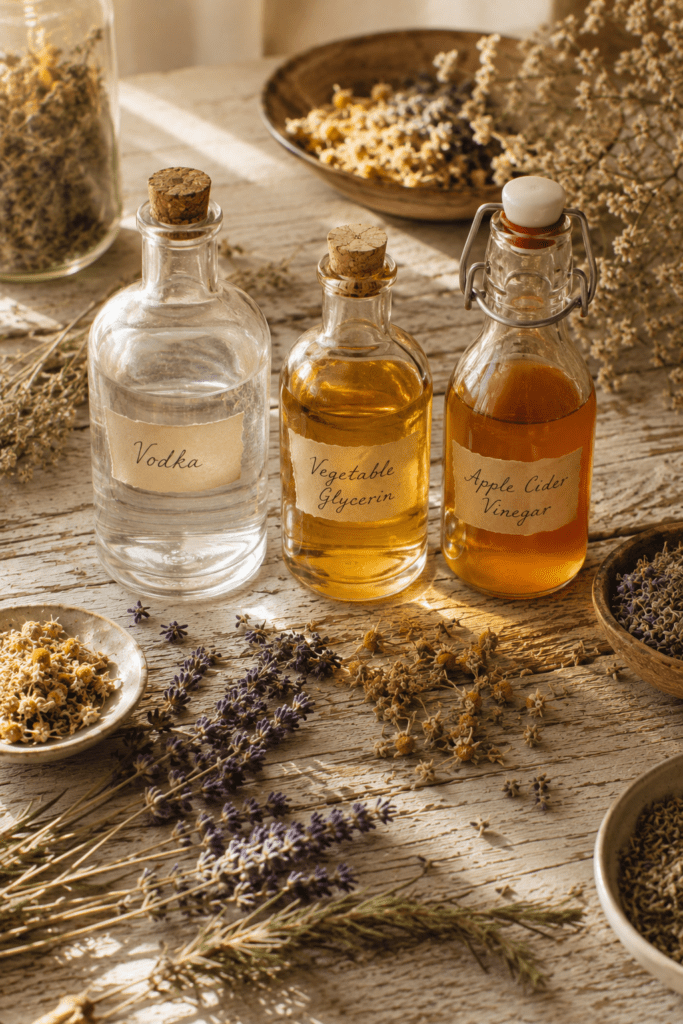
This is where most beginners get stuck — and it doesn’t need to be complicated. Here’s what each option actually does:
Alcohol is the gold standard for most tinctures. It extracts the widest range of plant compounds, preserves the finished tincture for years, and absorbs quickly in the body. Use a high-proof vodka or grain alcohol — something between 40-60% alcohol content works for most herbs. If you’re making tinctures for adults with no alcohol concerns, this is almost always your best choice.
Vegetable glycerin is the right choice when you need an alcohol-free option — for children, pets, or anyone avoiding alcohol. It’s sweet, gentle, and effective for many herbs, though it doesn’t extract quite as wide a range of compounds as alcohol. Glycerin tinctures are sometimes called glycerites.
Apple cider vinegar is the most accessible option and works well for certain herbs, particularly mineral-rich plants. It doesn’t preserve as long as alcohol or extract as broadly, but it’s food-safe, inexpensive, and a good starting point for complete beginners.
When in doubt — use alcohol. It works.
The Ratio Question
Tincture ratios refer to the weight of herb to the volume of solvent. The two most common you’ll encounter are:
1:5 ratio — one part herb to five parts solvent. This is the standard ratio for most dried herbs and a great starting point for beginners. It produces a reliable, moderately strong tincture.
1:2 ratio — one part herb to two parts solvent. This produces a stronger, more concentrated tincture and is often used with fresh herbs which have a higher water content.
For your first tincture, start with dried herb at a 1:5 ratio. It’s forgiving, consistent, and gives you a solid baseline to work from.
What You Need
The equipment list for tincture making is refreshingly short:
- A clean glass jar with a tight lid — a mason jar works perfectly
- Your dried or fresh herb
- Your chosen solvent
- A kitchen scale for measuring
- Cheesecloth or a fine mesh strainer for the final step
- A dark glass bottle for storage
That’s genuinely everything. No special equipment, no expensive tools.
The Basic Process
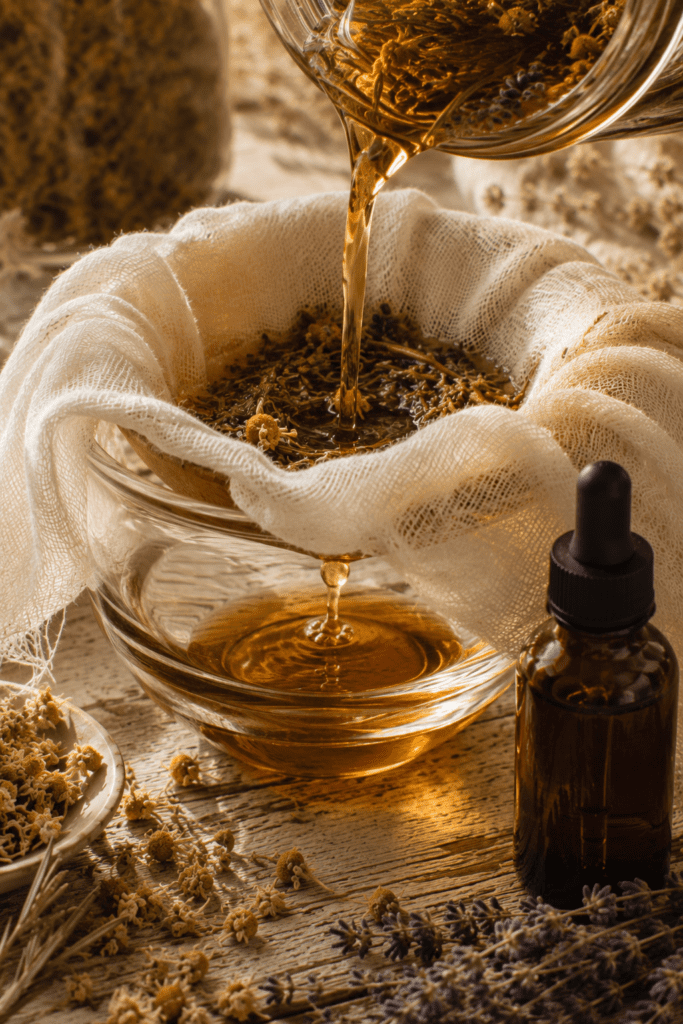
Step 1 — Measure your herb Weigh your dried herb using a kitchen scale. For a simple beginner batch, 1 ounce of dried herb is a good starting amount.
Step 2 — Add your solvent Using your 1:5 ratio, add 5 ounces of solvent to your jar. If you’re working in metric, 30 grams of herb to 150ml of solvent follows the same principle.
Step 3 — Combine and seal Add your herb to the jar, pour your solvent over it, and make sure the herb is fully submerged. Seal the jar tightly.
Step 4 — Steep Store your jar in a cool dark place for 4-6 weeks. Shake it gently every day or two. The solvent is slowly pulling the active compounds out of the plant material — patience here is the most important ingredient.
Step 5 — Strain After 4-6 weeks, strain the liquid through cheesecloth or a fine mesh strainer, squeezing out every last drop. The liquid that remains is your tincture.
Step 6 — Bottle and label Transfer your finished tincture to a dark glass bottle, label it with the herb name, solvent, ratio, and date, and store it away from direct light and heat.
A properly made alcohol tincture stored correctly can last 5 years or more.
How Do You Know When It’s Ready?
This is one of the most common beginner questions and the answer is simpler than most people expect.
After 4-6 weeks your tincture is ready to strain. The color will have deepened significantly — most herb tinctures turn a rich amber, deep green, or dark brown depending on the plant. The solvent will smell strongly of the herb. Both are good signs.
You don’t need to test potency with special equipment. The 4-6 week steeping time at the correct ratio reliably produces a consistent tincture from batch to batch. Trust the process.
Why Your Tincture Might Not Be Strong Enough
If you’ve made tinctures before and been disappointed with the results, the most common reasons are:
Wrong ratio — too much solvent dilutes the final product. Measure carefully.
Too short a steep time — 2 weeks isn’t enough. Give it the full 4-6 weeks.
Low quality herb — old, faded, or improperly stored dried herbs have already lost much of their potency before they ever go in the jar. Fresh, high quality herb makes a noticeable difference.
Wrong solvent proof — alcohol that’s too low in proof won’t extract certain compounds effectively. Aim for at least 40%.
The Double Strength Method
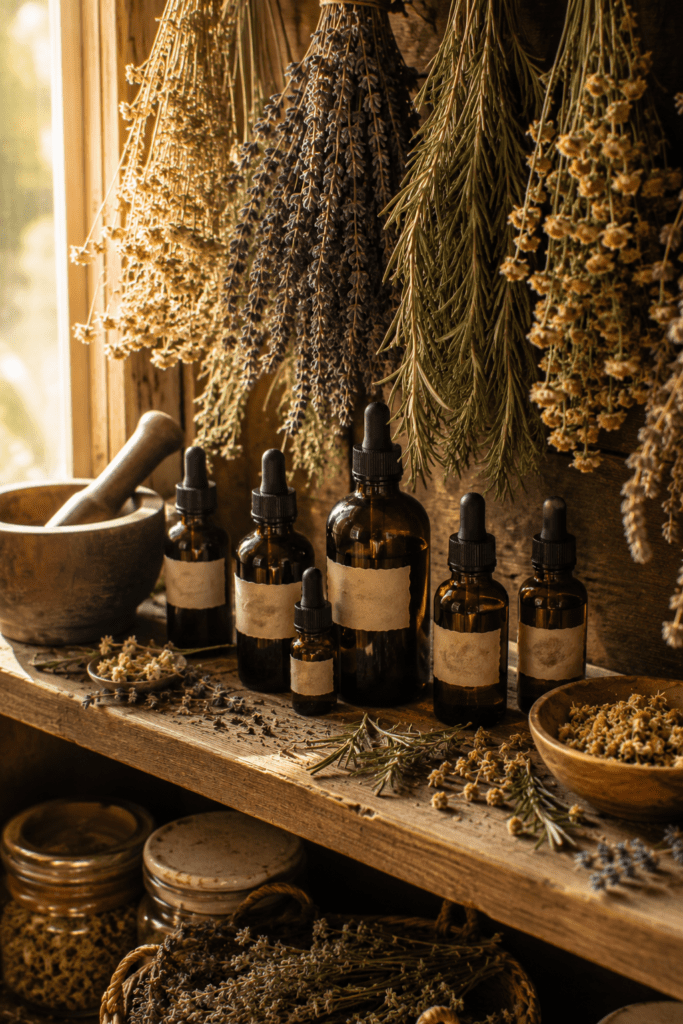
Once you’re comfortable with the basic process, the double strength extraction method is a game changer.
Instead of a single extraction, you perform a second extraction using your finished tincture and fresh plant material. The already-extracted liquid goes back to work on a new batch of herb, pulling out additional compounds and creating a significantly more concentrated final product.
This method is particularly useful when you want smaller doses, when you’re working with herbs that require higher concentrations to be effective, or when you want to minimize alcohol intake while maintaining potency.
It takes a little more time and herb, but the difference in strength is substantial.
A Note on Safety
Tinctures are concentrated herbal preparations and should be treated with the same respect you’d give any supplement or medicine. Research the specific herb you’re working with before you make or use a tincture. Some herbs have contraindications with medications or aren’t appropriate during pregnancy. When in doubt, consult a qualified herbalist or healthcare provider.
This guide covers the process of tincture making — not the specific properties or appropriate uses of individual herbs.
Ready to Make Your First Tincture?
You now have everything you need to get started — the solvent decision is made, the ratio is clear, the process is straightforward.
The only thing left is to pick your herb and fill that jar.
If you want the complete process laid out in one simple reference guide — including the exact ratios, a step-by-step visual breakdown, troubleshooting for weak or cloudy tinctures, storage guidelines, and the complete double strength extraction method — that’s exactly what the No-Guesswork Tincture Guide covers.
Six pages. Everything in one place. Yours to keep and reference every time you make a new batch.
Making tinctures for pets? The No-Guesswork Tincture Guide also includes pet-safe considerations so you can make gentle, appropriate preparations for your animals with confidence.